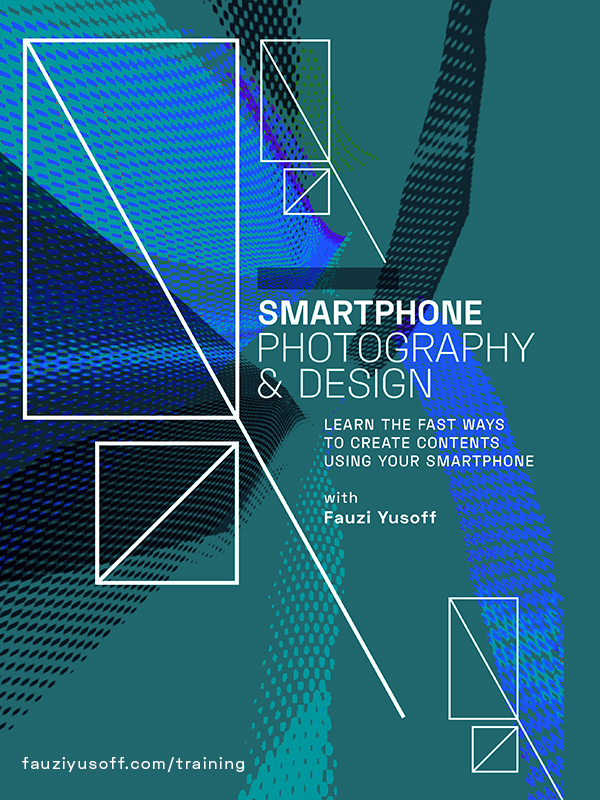
Smartphone Photography
Course Description:
Smartphone photography has transformed the way we capture and share moments, making high-quality imaging accessible to everyone. With advancements in smartphone technology, it’s no longer necessary to own a professional camera to take stunning photos.
From drafting an impactful storyline to final execution, you will learn the creativity of producing smartphone photography.
Smartphone photography is all about capturing and sharing your perspective. With practice and creativity, you can create beautiful images that tell compelling stories.
Part 1: Snap On The Go
Beginner Level, RMxxx
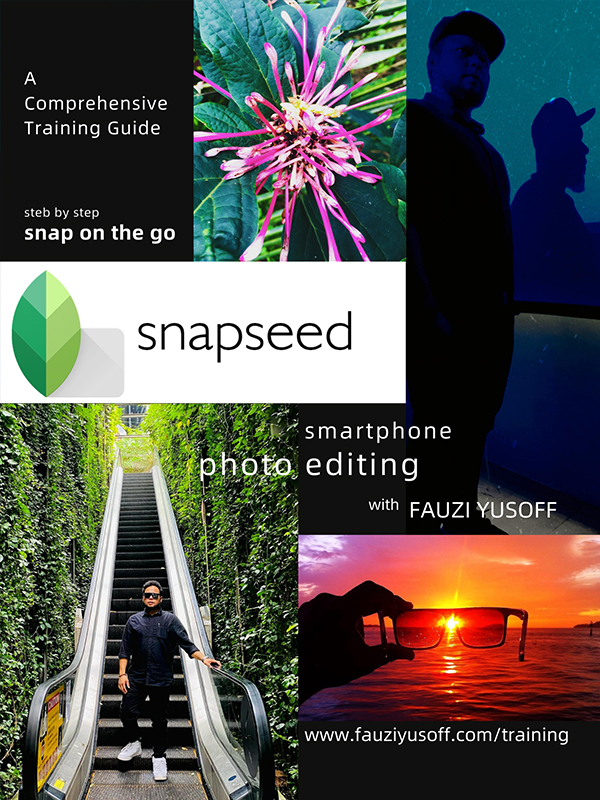
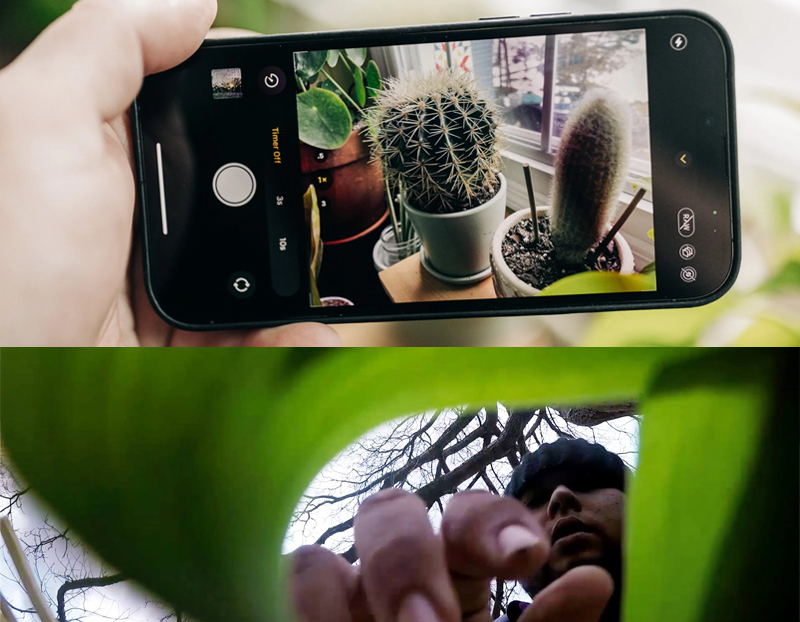
Snap On The Go is a smartphone photowalk series. Learn and practice on the spot to capture good photography skills.
By using your own smartphone, you will be able to produce your own photography with a step by step guidance with Fauzi Yusoff.
Snap On The Go is open for idea to discover any location for the photo walk series.
Join us for this fun and creative journey!
– Exclusive on site training activity.
– Q&A sessions with industry experts.
– Additional tutorials and tips for enhancing your photography skills.

Part 2: Basic Smartphone Photo Editing with DIY studio lighting
Beginner Level, RMxxx
Materials: Use materials like white foam boards, aluminum foil, or even a white bedsheet. These reflect light onto your subject, filling in shadows and creating a more balanced illumination.
How-To: Position the reflector opposite your light source to bounce light back onto your subject. Adjust the angle and distance to control the intensity and direction of the reflected light.
Materials: A white shower curtain, sheer fabric, or even a piece of white paper can serve as a diffuser. These materials soften and spread light, reducing harsh shadows and creating a more flattering look.
How-To: Place the diffuser between the light source and your subject. This will diffuse the light, creating a softer and more even illumination. If you’re using a lamp or flash, position the diffuser in front of it.
Materials: A cardboard box, aluminum foil, and white fabric or a shower curtain.
How-To:
- Line the inside of the box with aluminum foil to reflect light.
- Cut a hole in one side of the box for your light source.
- Cover the hole with the white fabric or shower curtain to diffuse the light.
- Place the box in front of your light source and adjust as needed.
Materials: Colored gels or transparent plastic sheets can be used to modify the color and intensity of your light.
How-To: Attach the gels or plastic sheets to your light source to change the color temperature or add creative effects. You can use tape or clips to secure them in place.
Materials: PVC pipes, old tripod legs, or even sturdy books can be used to create makeshift light stands.
How-To: Build a light stand by attaching your light source to a PVC pipe or tripod legs. Ensure the stand is stable and can hold the light source securely.
Materials: A large cardboard box, white fabric, and a light source.
How-To:
- Cut out holes on three sides of the box for light entry.
- Cover the holes with white fabric to diffuse the light.
- Place your product inside the box and position your light sources to shine through the fabric.
Materials: A circular LED light strip, a large round cardboard, and some adhesive.
How-To:
- Attach the LED light strip around the inner edge of the cardboard.
- Secure the light strip with adhesive or tape.
- Position the ring light around your camera or subject for even, flattering illumination.
– Exclusive editing resources and templates.
– Q&A sessions with industry experts.
– Additional tutorials and tips for enhancing your editing skills.
Ready to take your photography to the next level? Enroll now and start mastering smartphone photography today!
By the end of this course, you’ll have the knowledge and skills to create stunning photography for any purpose using DIY studio lighting. Whether you’re a fresh-grads, freelancer, entrepreneur, marketer, or simply someone who loves to design, this course will empower you to unleash your creativity and make an impact using basic technique of smartphone photography.

